 Record Your iPhone's Screen with Audio in iOS 11 No Jailbreak or Computer Needed
The only official way to record your iPhone's screen before was to hook it up to a Mac and use QuickTime Player to do the recording for you. If you wanted to record your iPhone's screen without an external device, there were unofficial apps you could use, like AirShou, but they required complicated installations. Now, in iOS 11, Apple has finally given us an official, native screen recording tool.
With iOS 11's native "Screen Recording" tool, you can not only record a video of your iPhone's screen, but you can also record audio and voiceovers. After recording, it will be saved to your Photos app where you can trim the video down to remove the footage of when you started and stopped the recording. Let's see how it works below.
1.Add the Screen Recording Shortcut
Just like the Flashlight tool, the Screen Recording tool doesn't have an app — just a control option for the Control Center — but it's not enabled by default.
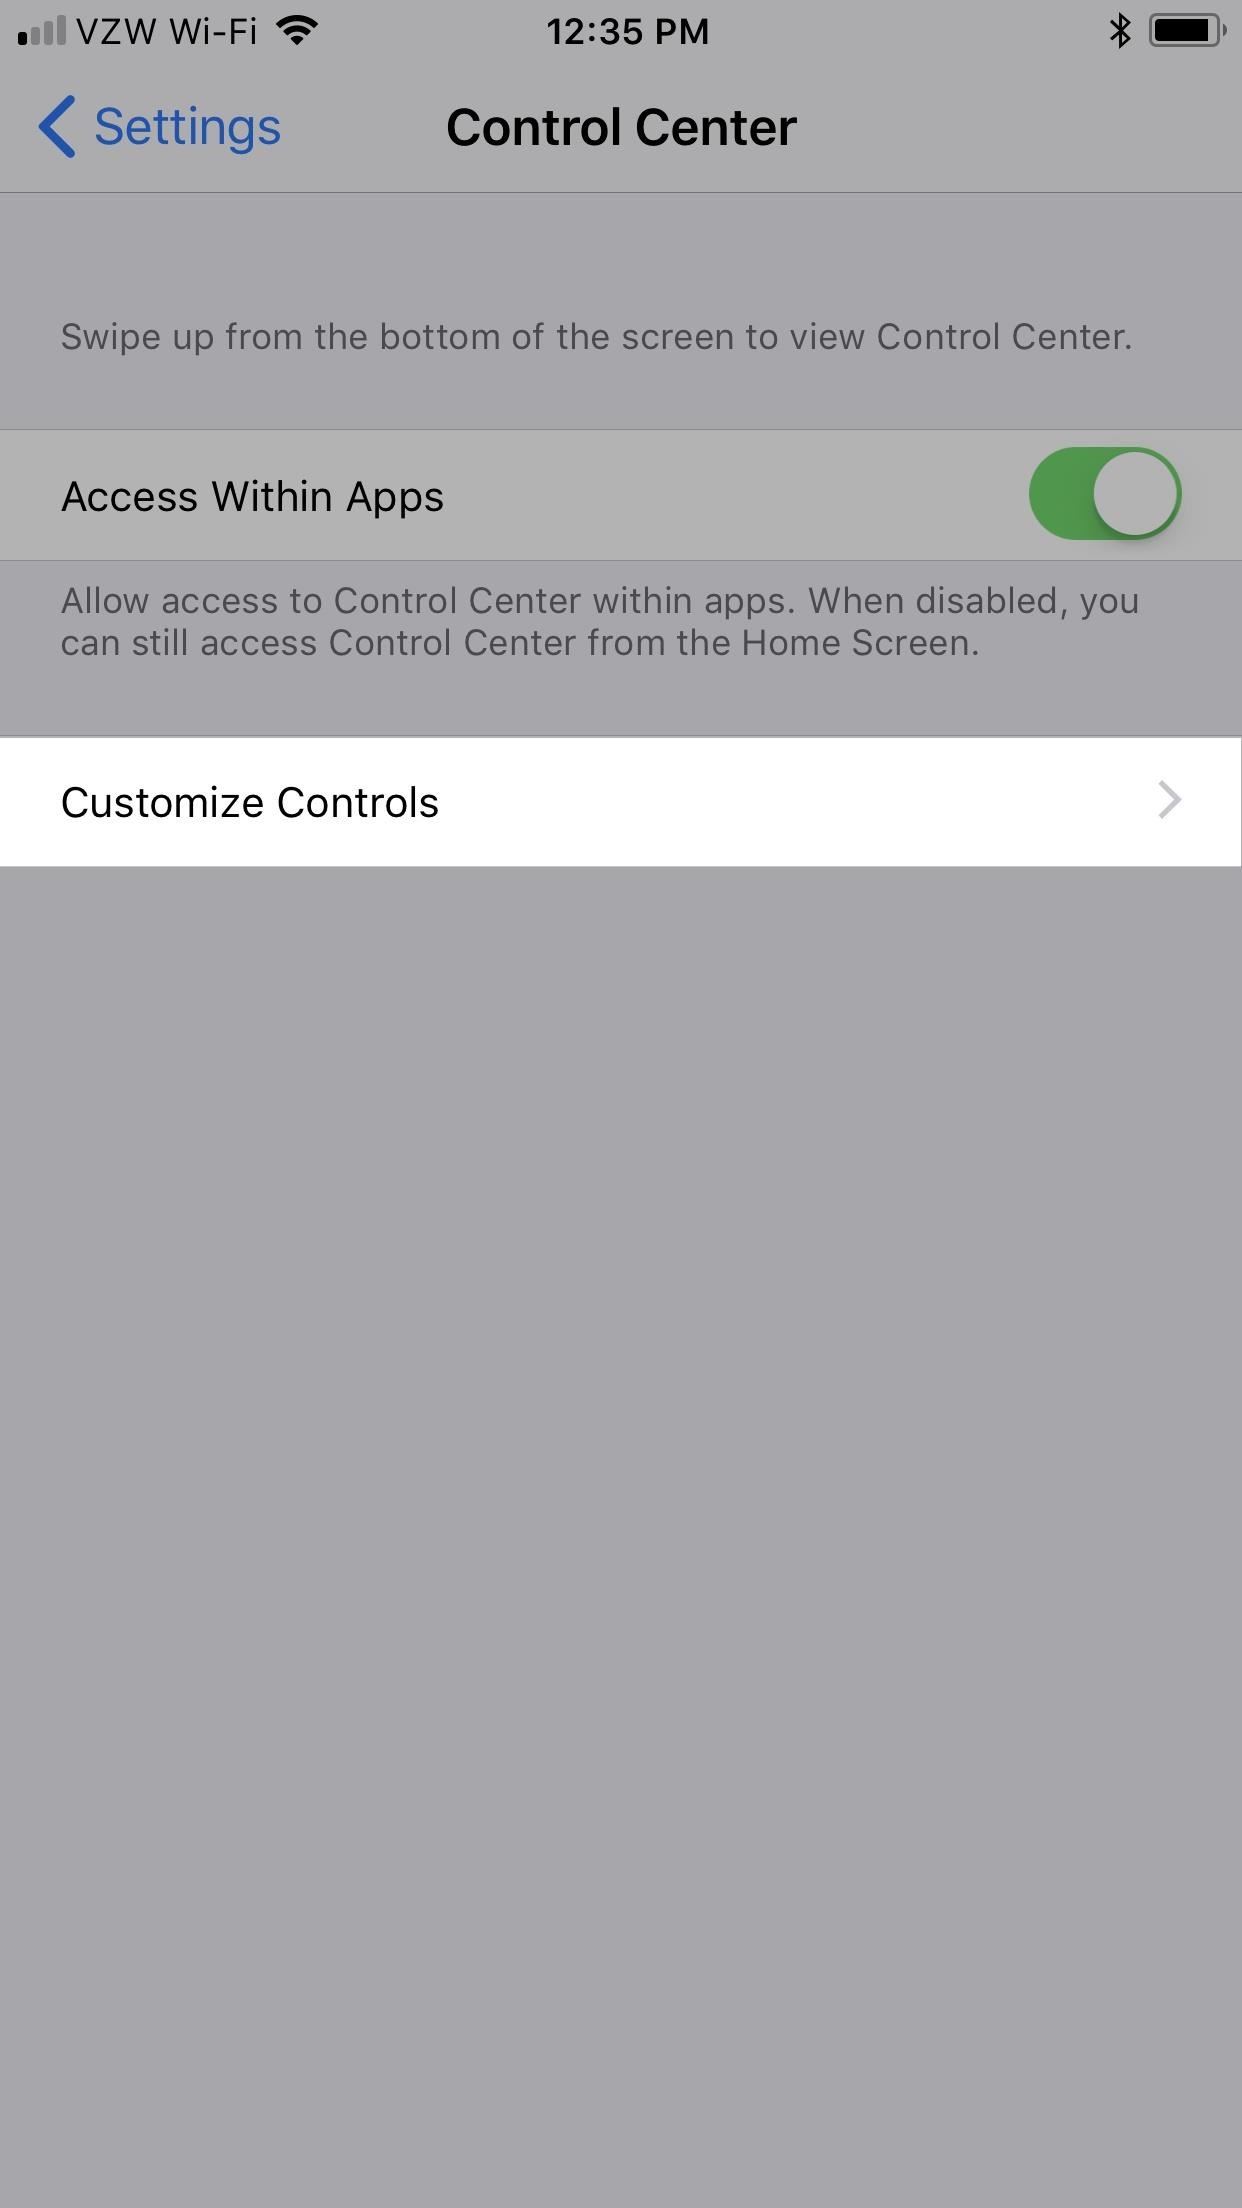
To set it up, head over to your Settings app, then tap on "Control Center." From there, select "Customize Controls," then scroll down to find "Screen Recording" and tap on the green "plus" icon next to it to add it to the Control Center.
2.Start Recording Your Screen
Once you've added the Screen Recording control tile, you'll now see the Screen Recording toggle that you can tap on whenever you want to record your screen.
By default, screen recordings will also record any in-app music and sounds while video recording. However, if you want your screen recording to record your voice, simply perform a long press or 3D Touch on the control tile to open its very own control window, then tap on the mic icon on the bottom to toggle audio on or off before you start recording. You can also tap "Start Recording" from this window to start recording, too.
No matter how you initiate the screen recording, you'll have a three-second countdown before the screen recording will actually start, which helps with less required editing later.
Once a recording is initiated, the status bar will turn red and remain that way until you stop it. This red bar will appear in your recorded video anywhere the status bar is usually seen, and there's no way to turn that off, but it's an easy-to-forgive tradeoff for native screen recording in iOS. If you're recording gameplay footage, the red status bar likely won't be shown, since most games hide the status bar.
3.Stop Your Video Recording
To stop a recording, you can just pull up the Control Center again and tap on the Screen Recording icon or long press or 3D Touch on it and press "Stop Recording." Alternatively, you can tap on the red recording indicator in the status bar, if you see one, then tap on "Stop."
Once you stop recording, you'll get a notification that you can tap on to quickly view the video in the Photos application. You can also just go to the Photos app directly to find the video in your "Camera Roll" and "Video" albums.
4.Edit Your Video
In the Photos app, simply select the "Edit" button on your video. To trim it, just tap and hold on one of the black arrows on either side of the frame viewer, and move it inward. The yellow cropping indicator will show up to help you see better. You can preview the video anytime by tapping on the play button in the bottom center.
Once you're satisfied with the video's length, tap on "Done" in the bottom right and select "Save as New Clip" to save it. This won't overwrite the current clip, so you don't have to worry about losing the original screen recording.
Apple removed the time indicator from a beta version that showed how long you've been recording since it unnecessarily ended up in the final footage. So maybe we'll see some future updates to this screen-recording feature, like the ability to automatically exit the Control Center once a screen recording has been initiated.


Comments
Post a Comment